My 3D Workflow
This page provides a step-by-step description on how I create renderings start to finish.
The project used as an example in this section can be seen in full detail here:
Step 1
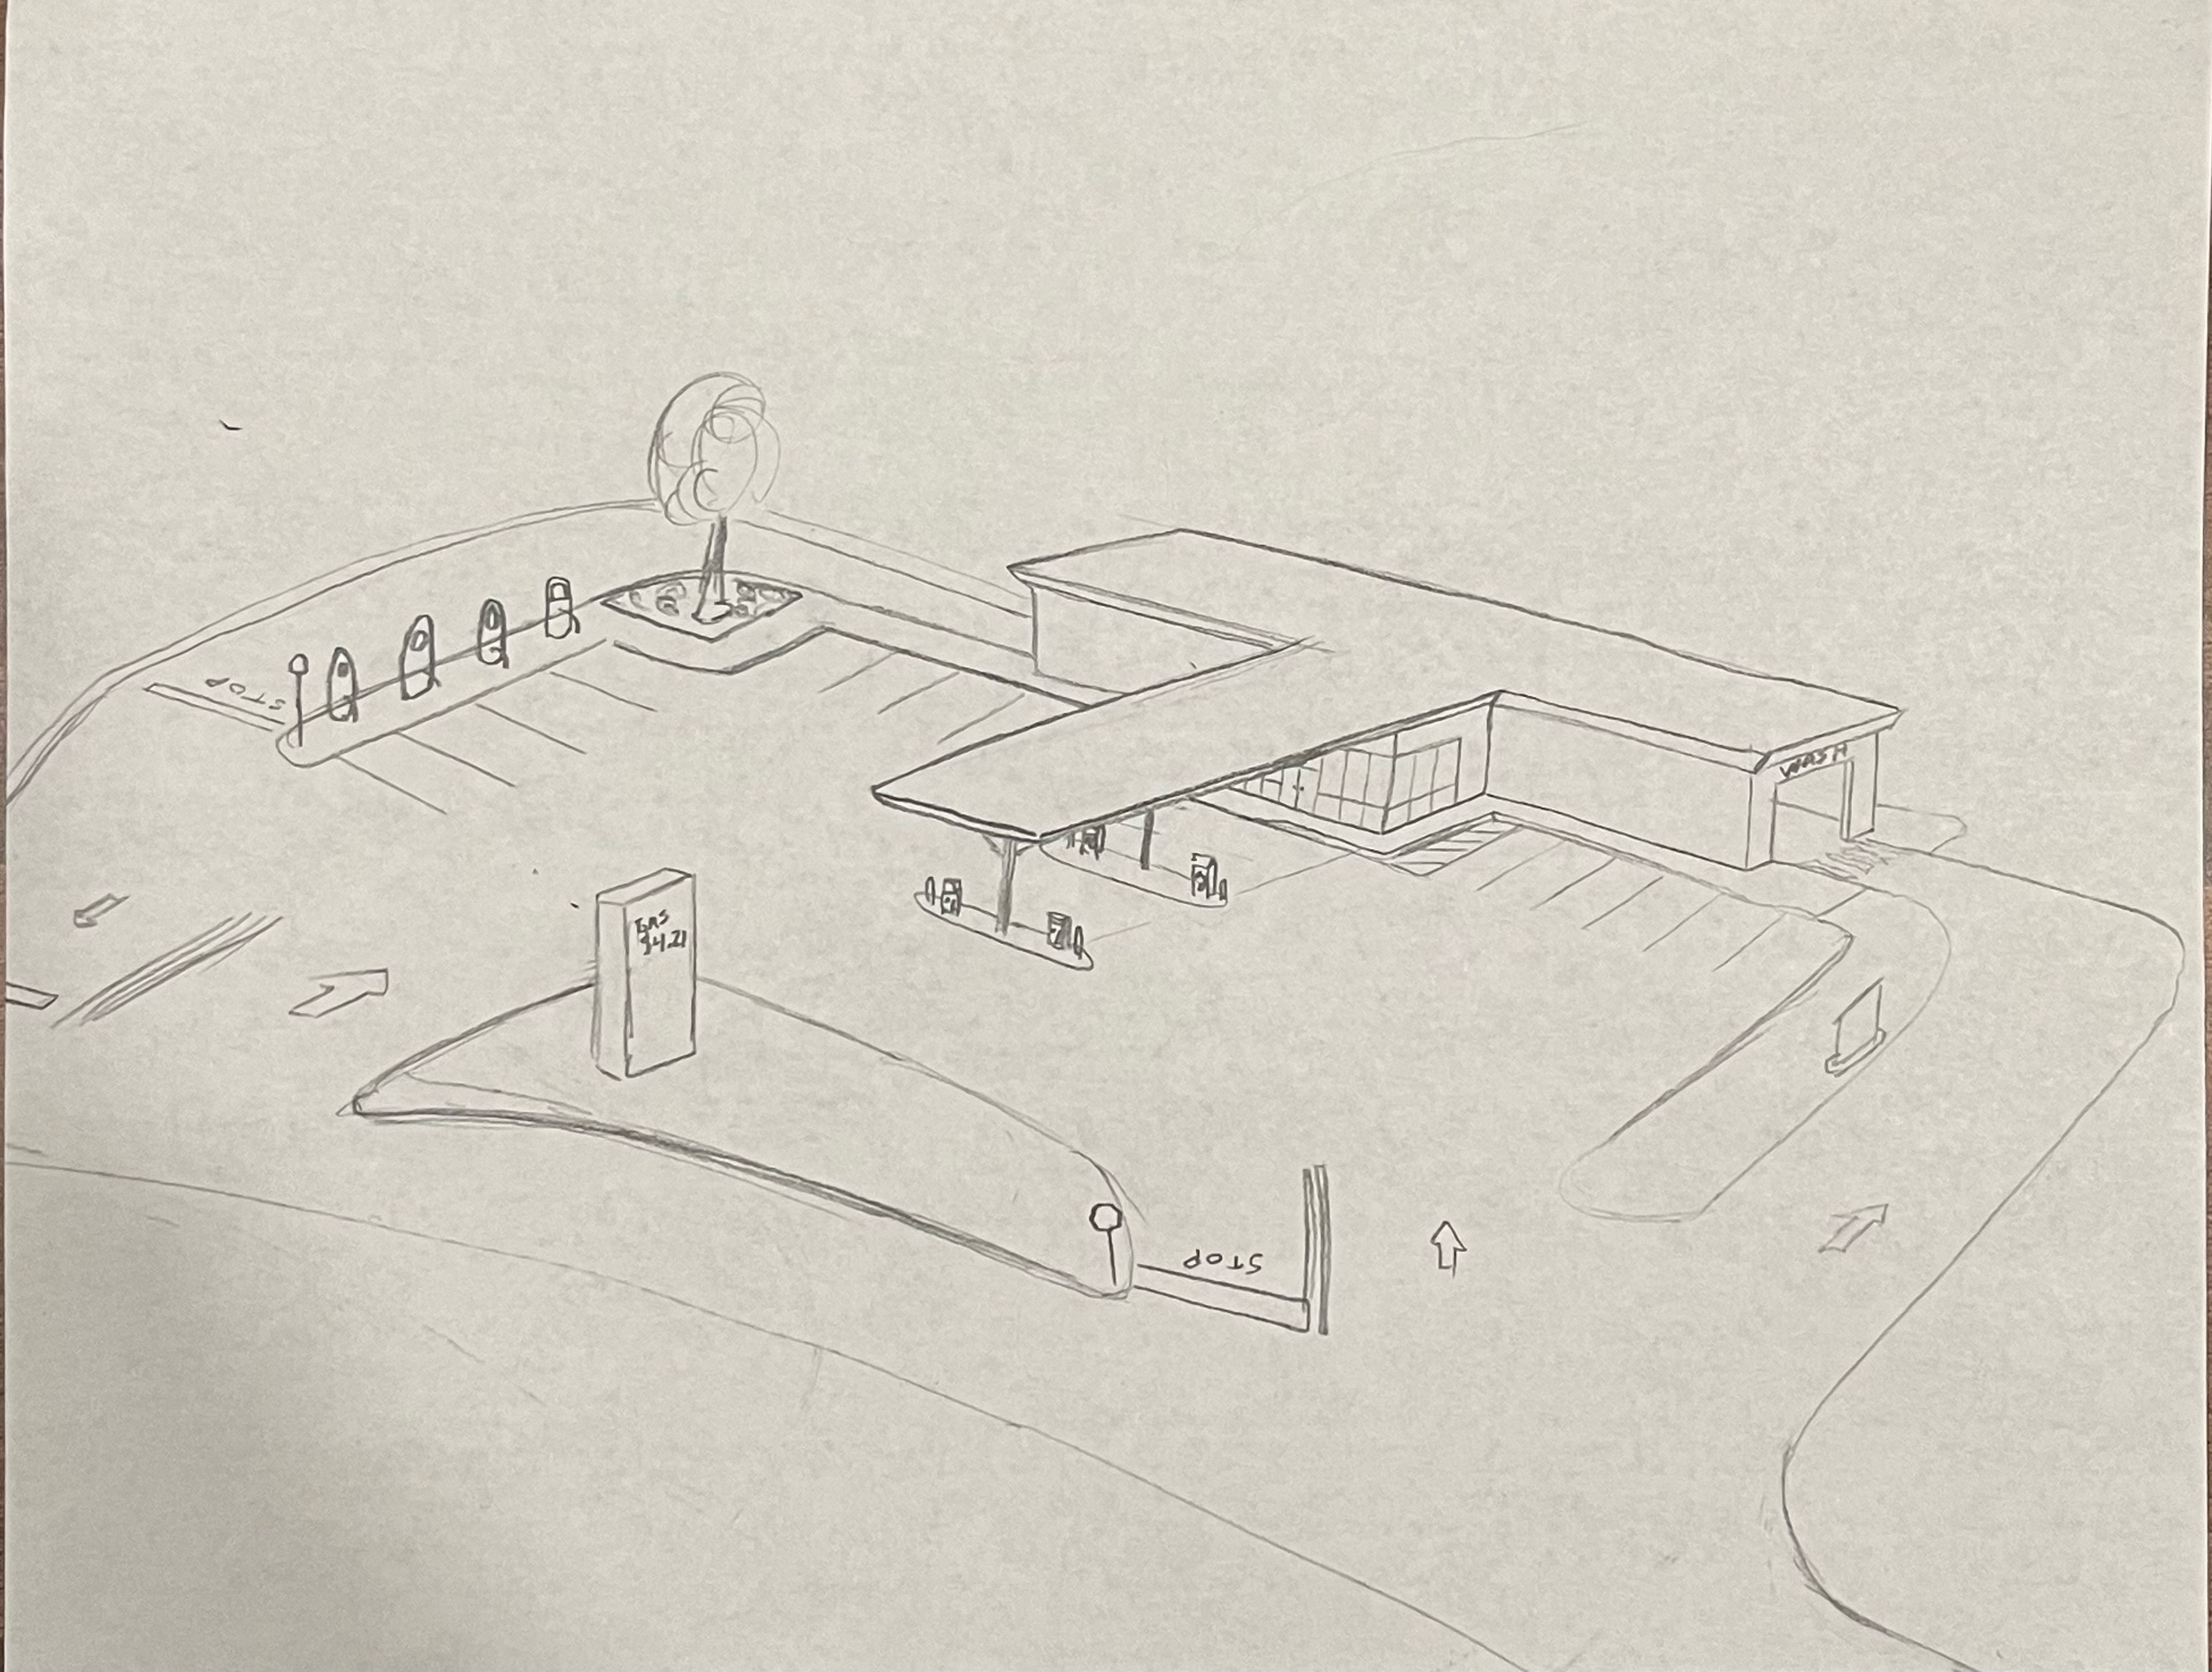
Brainstorm and sketch. If a client already had a floor plan laid out this is when I would take a look at their PDF or sketch and communicate with them to ensure I understood what they want to see.
Step 2
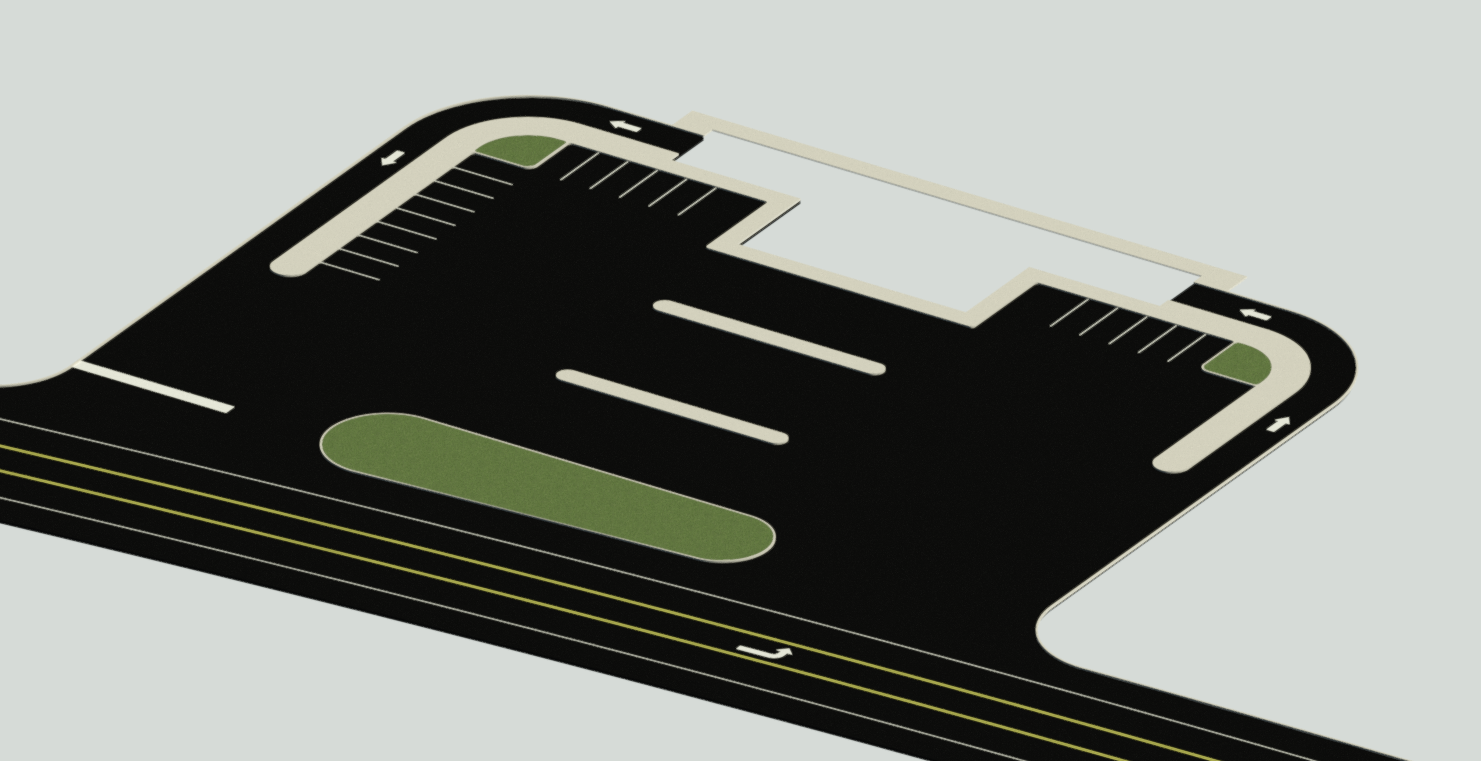
Hop onto Revit and create the site plan. During this step I add topography, if necessary, based on the proposed project site. I find it easier to make adjustments in building structure when the topography has been created.
Step 3
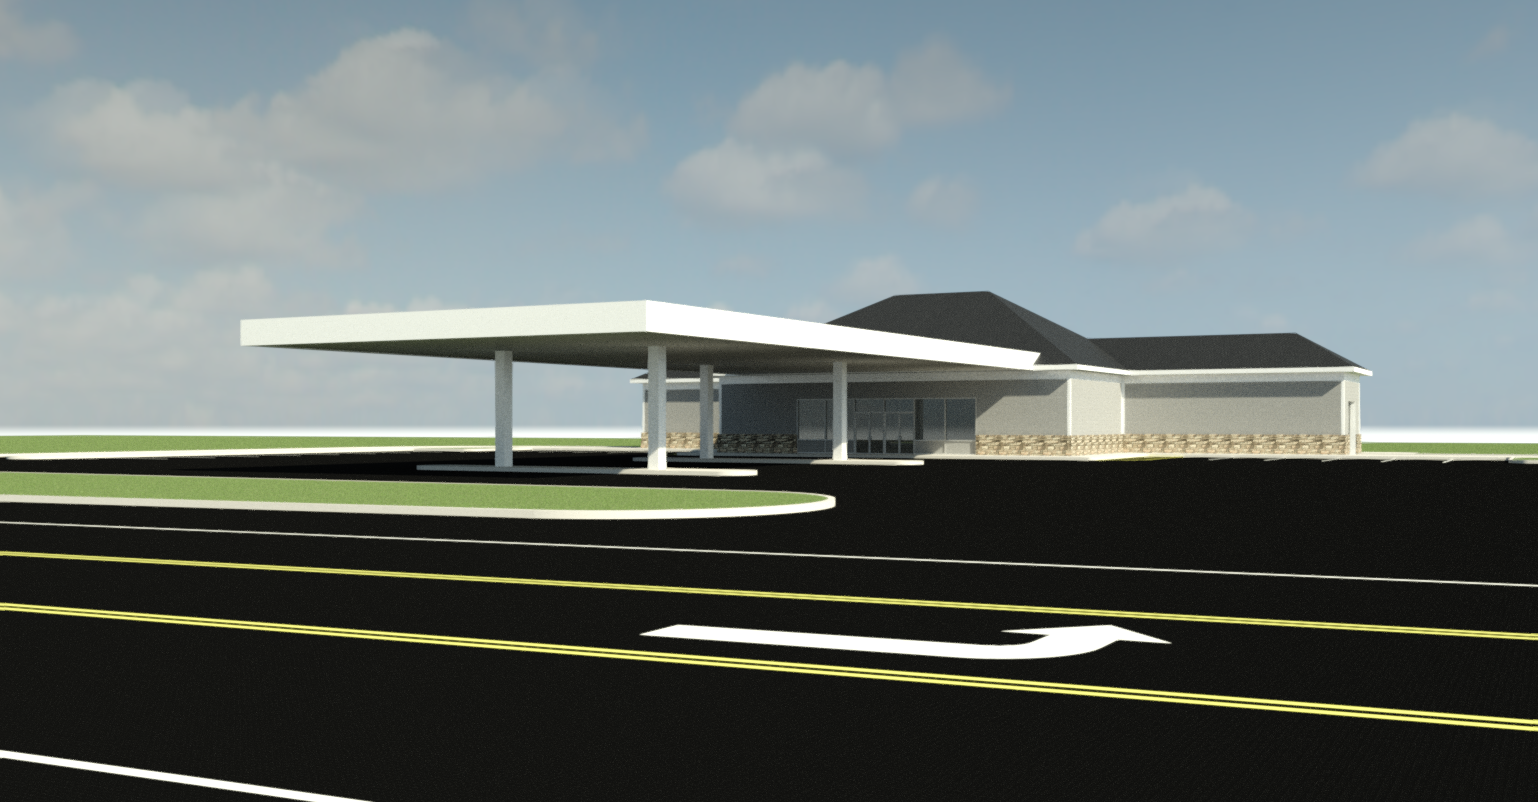
Next, I create the building model. I add generic materials to the exterior, though I don’t worry too much about them yet because they’ll change when the model is sent to TwinMotion. I set up a camera in Revit and refer back to it after I make changes. It helps me get an understanding of the space and what looks good on the model.
Step 4
Add interior and exterior lighting and other site details. For this particular project, there should be ample lighting during the night so those driving by can see. In Revit, I place the light fixtures and work with the exposure and luminosity later in TwinMotion. Site details like bollards, entry signs and electric charging stations are added here.
Step 5
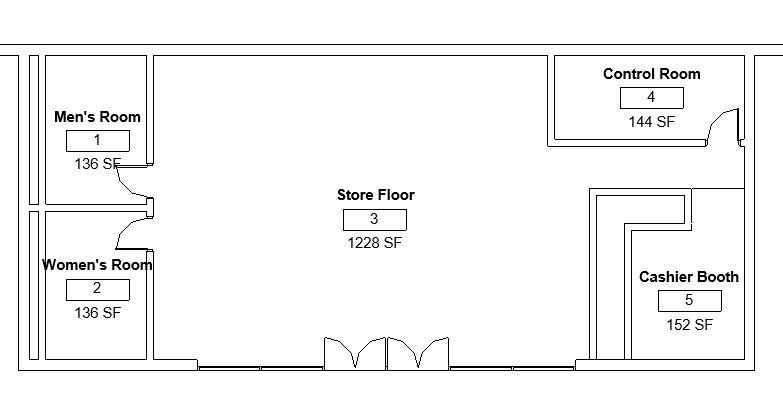
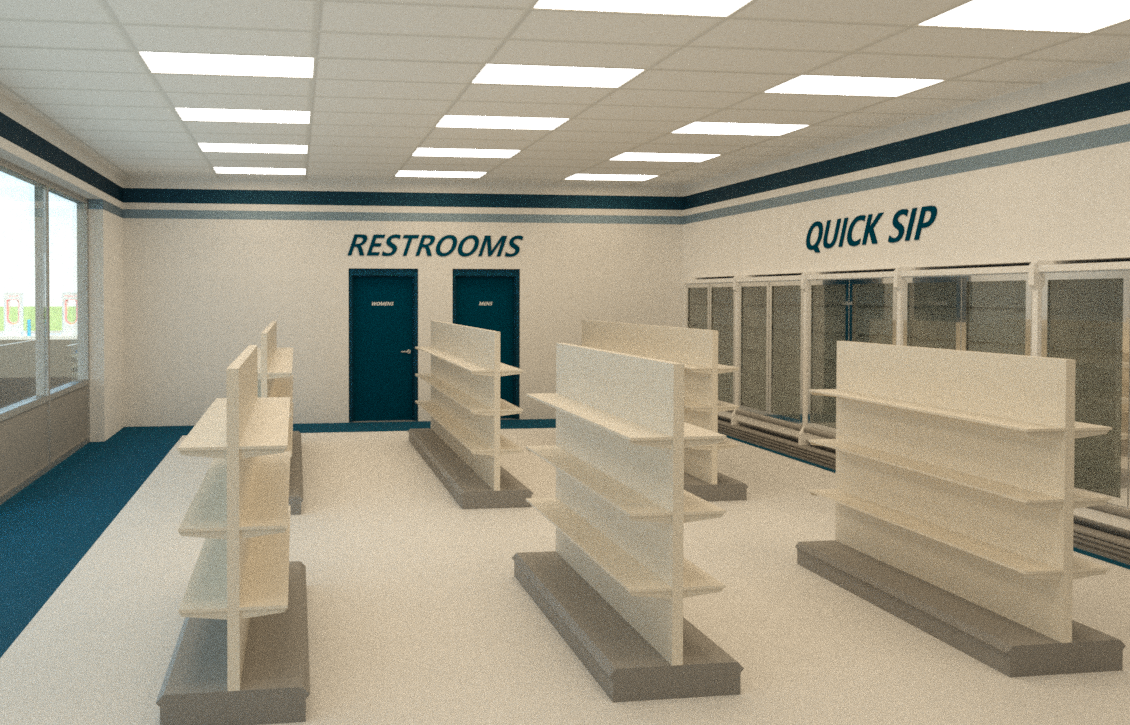
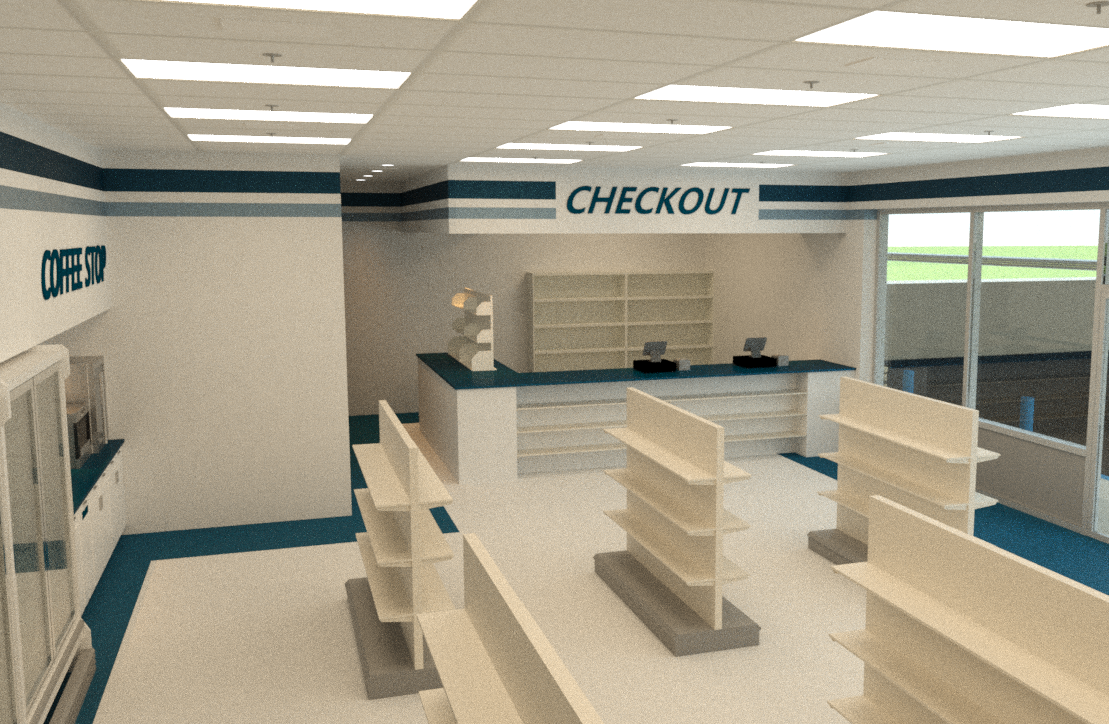
Once the site is setup, I focus on the interior space. I start the floor plan to get a general layout of the space. For this project, the Mini Mart will include 2 bathrooms, a car wash control room, shelving and refrigerators for snacks, and a checkout station.
Step 6
After the floor plan is spaced out, I start modeling the inside. Here, I’ll place the store fixtures in a way that allows customers a free-flowing environment. For instance, there should be enough space for the turning radius of someone in a wheelchair to navigate the room. More details are added like wall and floor colors/styles.
Step 7
Finalize the Revit model and export it to TwinMotion. To do this, I save the Revit file, export it to a DataSmith file, then open TwinMotion. Once I open TwinMotion, the newly created model is then imported as the Datasmith file. If I need to go back and change the Revit model after this point, I can synchronize the files so it will update those changes in both.
Step 8
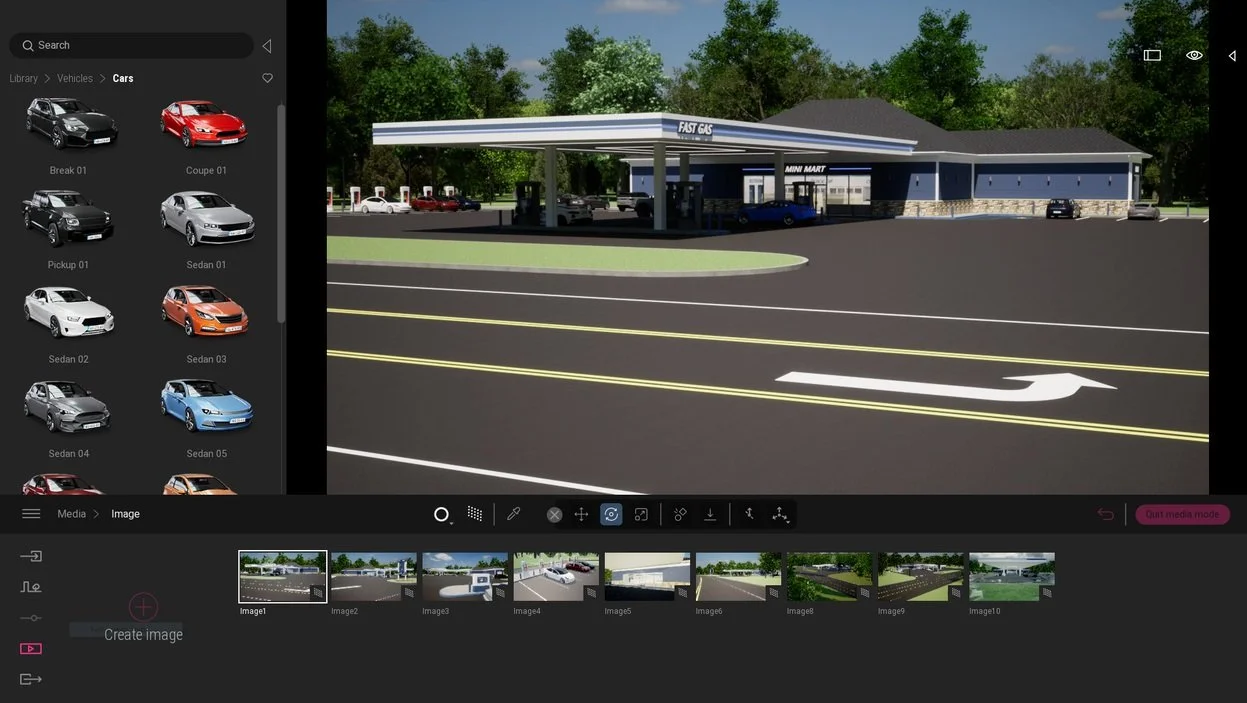
Once the 3D model is loaded into TwinMotion, the first thing I do is set up several camera angles. This is crucial for capturing the scene and creating the realistic feel. After I set up the cameras, I create a background to keep the focus on the building. Then details like cars are just drag and drop. I place them in various spots throughout the site to make it feel like a mid-day scene.
Step 9
Add grass and posed humans. For exterior day time renderings, the focus is to make sure the sky and environment work well together. The Dynamic Sky and Sun Intensity features allow for easy tweaking to get the environment looking how I like. Individual blades of grass immediately increase the realism of the image.
Step 10
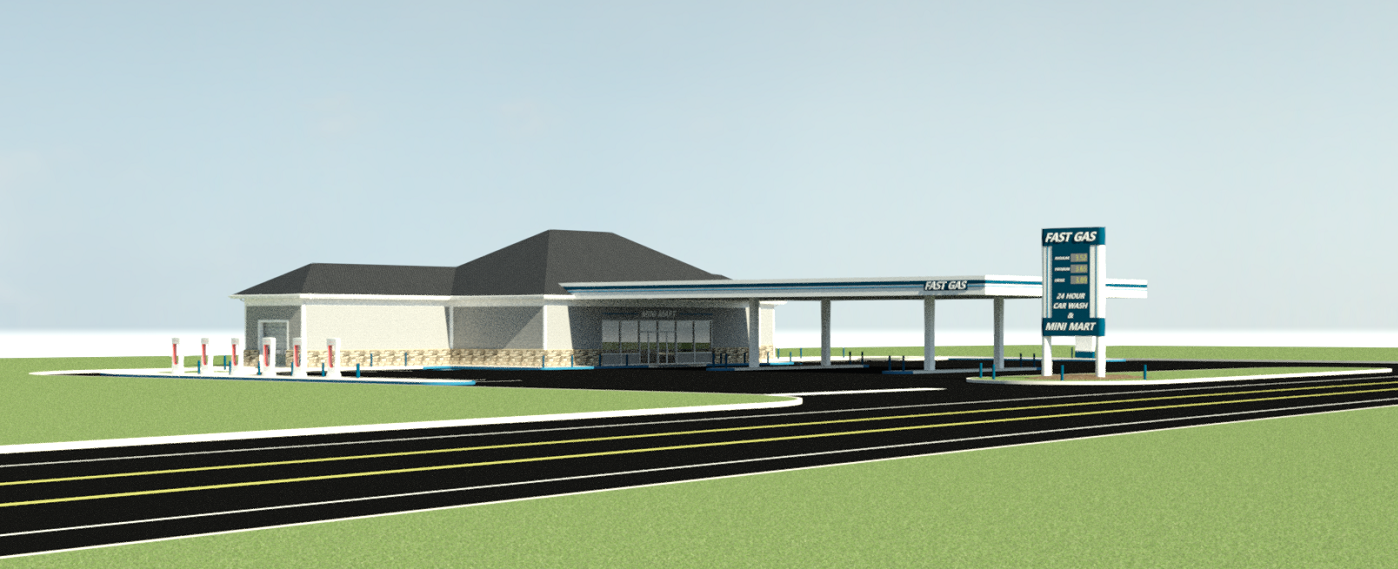
Change the camera and render the scene again. Here I added further details in the landscaping below the street sign. I also needed the “MINI MART” lettering below the canopy to appear lit up. To do this, I applied a neon material to the letters and strip lights and adjust their colors and intensity.
Step 11
Finalize the images and prepare for export. I prefer to select 4K UHD format settings to export the final renderings. Before I export, using the path tracer, I do 800 samples per pixel and 40 max bounces. I have found that his produces the best final product after exporting. I typically export the file as a PNG so it doesn’t lose quality through email or the web.
That concludes my step-by-step workflow. Obviously, this varies project to project depending on what a client wants to see and or what my plan is. Above are the main steps. Brainstorm, plan out, draw in 3D, send to the rendering software, setup cameras, and add elements to bring the scenes to life. I love learning new things I can do to fine tune this process. If you read this section and have any further questions, feel free to ask! Visit the Contact page and send me an email.
